My motivation was to be able to create parts for other robotics, automation, and artistic projects. This seemed like a much easier route than getting a hobbyist's machine shop together. I also wanted to give my kids a tool to allow them to create any sort of thing they can dream up. They are very good at thinking of things I would never have thought of. I thought it was amazing when I first told my 10 year old what a 3D printer was and his first question was "could you use it to make more 3D printers?" I hadn't even told him that was one of the prime directives of the RepRap project.
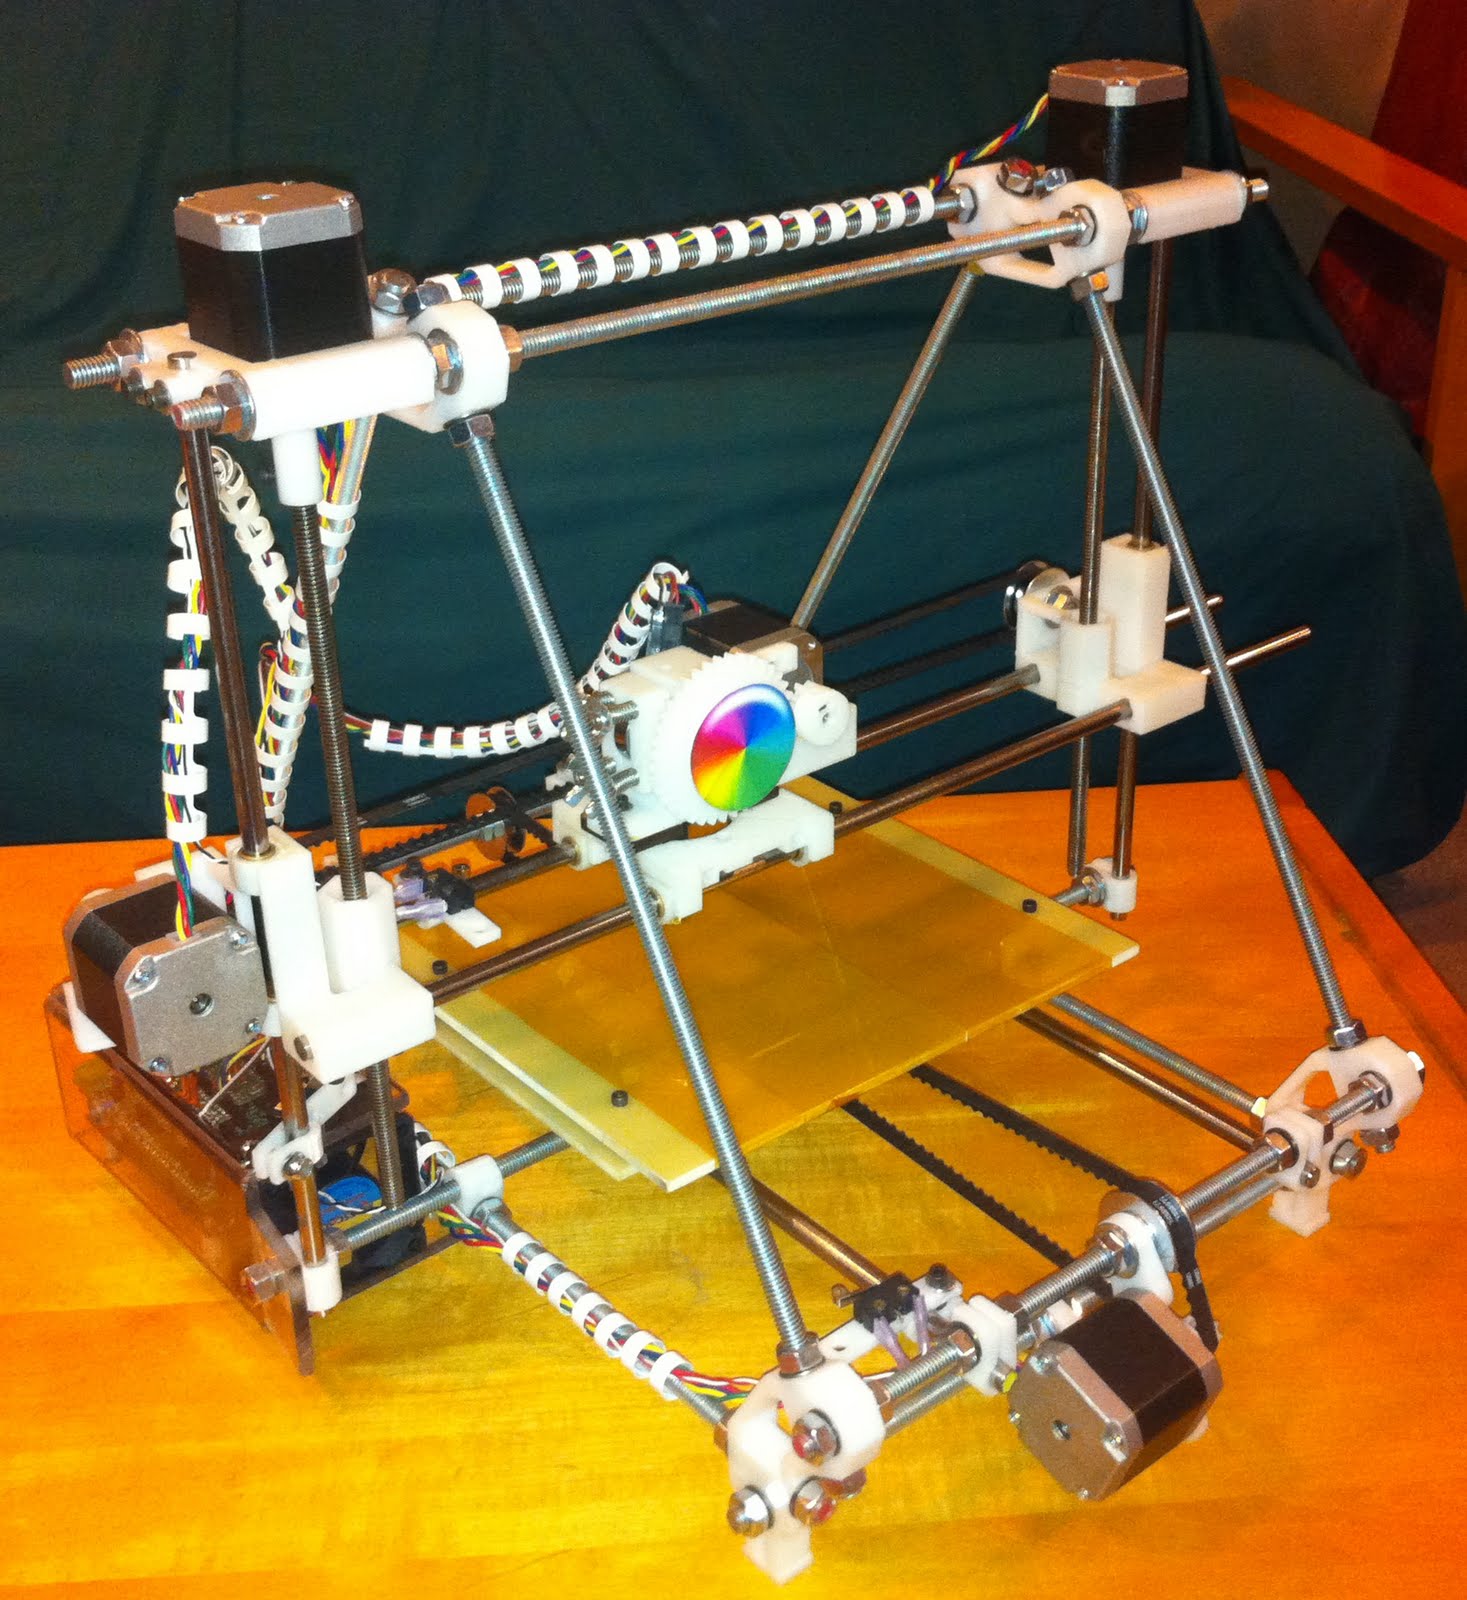
Anyway, I've finally finished the actual build of my first RepRap, at least as much as a RepRap build can ever be called "finished". There are a number of improvements I'm already planning, but it's at least at a state where I can begin to try to print things. Ta-Da!
I'll work back a little in my following posts to explain some of the minor snags I ran into during the build.
Great intro! Nice looking machine. Everyone seems to put their own stamp on their build.
ReplyDeleteIt really is an information scavenger hunt but good fun. It should serve you well for printing robotics parts. Great idea. Look forward to reading about your progress and challenges.
Have you done any printing yet? Don't forget you can post to forums.reprap.org also. Plenty help there.
No.6
Thanks, it's been a bit more work than I expected, but I've enjoyed every minute of it. Well, maybe not the waiting for parts to arrive bit ;)
ReplyDeleteI have managed to print one decent test cube, but I seem to have run into materials issues which I'll be explaining shortly. There's a few things I want to do before I try again. I'll certainly use the forums when I have an issue worth posting.
BTW, love your machine. As the son of a woodworker, you would think that's the approach I would have taken. But I was too impatient. When the wife gives you a "go", you don't waste any time. Your DIY approach is inspiring.